A home addition is more than new square footage. It has to connect to the existing structure, work with the lot, support daily life, and look like it belongs to the home.
Wilson & Co serves homeowners in St. Augustine, Jacksonville, Ponte Vedra, Nocatee, Palm Coast, and the Flagler area. Use this guide to prepare better questions before a consultation.
Choose the right kind of space
A master suite, family room, office, guest suite, garage conversion, or ADU each solves a different problem. Start with the pressure inside the home before choosing the form.
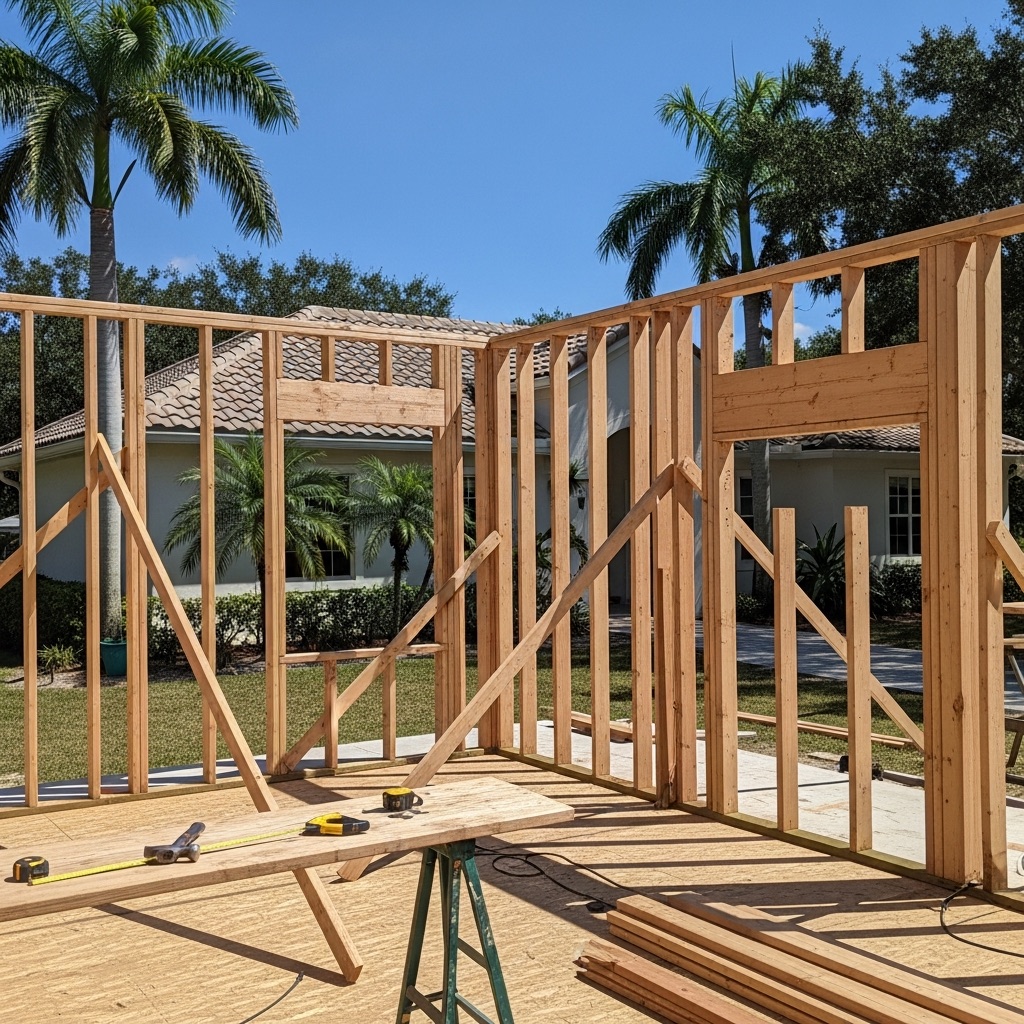
Review tie-ins early
Rooflines, foundations, HVAC, electrical, plumbing, drainage, exterior finishes, flooring, and trim can all affect the budget and schedule.
Plan for life during construction
Access, dust control, temporary weather protection, parking, material staging, and timing should be discussed before crews arrive.
Questions to bring to the first conversation
- What problem should the project solve first?
- Which rooms, exterior areas, systems, or finishes will be affected?
- What decisions should be made before the work is priced or scheduled?
- Does the scope need design-build planning, permit review, or a focused proposal?
- How should construction be phased around daily life in the home?
Bring the conversation back to your home
A useful next step is a practical walkthrough with a contractor who can connect design decisions to construction realities. Wilson & Co Design Build can help determine whether the work belongs in addition planning, custom interiors, exterior renovation, a focused remodel, or a larger design-build scope.
Call (904) 792-6175 or use the project form to share what you want to change.
Related service
Home Additions & Master Suites
Add the room your home is missing while keeping the neighborhood, lot, and daily routines that already work.
View Service